

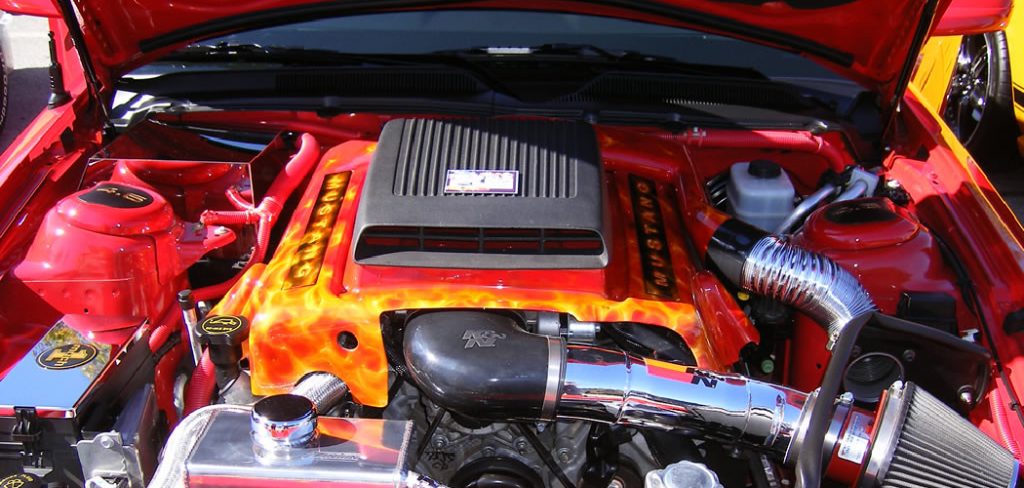
How To Paint Engine Bay Without Removing Engine
How to Pigment an Engine Without Removing It
Engine painting doesn't take to be a difficult chore. By using the right supplies and taking your time, you lot can have a clean and shiny engine in no time. In this blog mail service, we will show yous how to paint an engine without removing information technology. This is a bang-up style to give your engine a fresh new look without having to take it apart.
We will walk you through the process step-by-step to get started on your projection today. Then if you're looking for a toll-effective way to spruce up your engine, go on reading for our tips on painting an engine with ease!
Iii Methods on How to Paint an Engine Without Removing It
Method ane: Cleaning and Prepping Your Engine Bay
Step 1:
Permit the engine cool. Before you start taking apart your engine, let it absurd. If possible, let the car sit for a couple of hours or overnight before y'all begin piece of work.
Step 2:
Prepare to remove parts. If you lot want to paint an entire engine bay, set up to remove some components such as spark plugs and wires (even if they aren't covered in pigment). If you lot want to drive your car, leave them in.
Stride 3:
Mask off parts with painter's tape. To forestall overspray onto other parts of the engine bay, mask surrounding components with painter's record. It's best to cover components in an organized fashion and then it won't look too busy after you lot remove the tape. For example, start past taping off spark plug wires and so moving on to other parts.
Step four:
Cleaning your engine bay. Utilise a degreaser to remove debris and crud from the engine bay'south panels. If you lot don't take or desire to utilise a degreaser, you can apply soap and water. If yous're painting your engine bay with rattle cans, be sure to rinse off any excess soap residuum before starting your pigment job.
Stride 5:
Rinse and let everything dry. Afterward you lot have cleaned off all of the dirt, grease, and other gunk from your engine bay, rinse it with h2o to remove all lather residue. Afterward, let everything dry out completely before doing anything else.
Step six:
Use a primer glaze. Use an aerosol primer specially designed for automotive surfaces. Once completed, let this dry for a few minutes. If you desire a darker look, employ a second coat. Let the primer dry overnight to ensure it has been completely set before moving on.
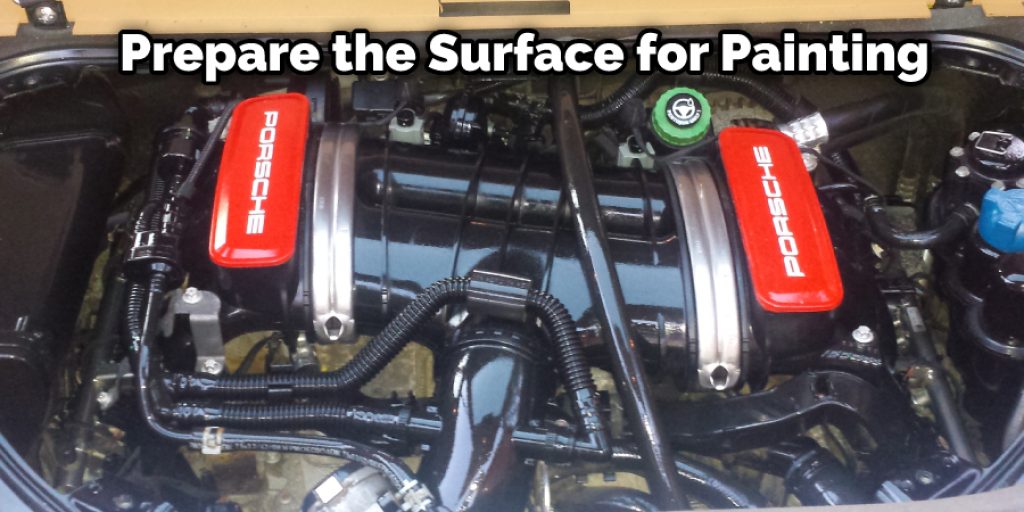
Method 2: Prepare the Surface for Painting
Step one:
Scrub out rust using sandpaper. You lot'll want to rid the surface of whatsoever rust that will compromise paint adhesion. If you lot have a lot of rust on your engine bay, consider using a wire brush instead.
Step two:
Remove the sometime pigment. Use a sanding block to remove the old paint. Starting time with coarse-dust sandpaper and work your manner downwardly to fine-dust newspaper for an even surface. If you merely have light rust, fine-dust sandpaper should practice the trick.
Step 3:
Sand the metal you want to paint. Before painting any part of your engine bay, yous'll want to sand all metal components with 220-grit sandpaper. This volition create a rougher surface for the pigment to adhere to.
Pace 4:
Wipe off the dust. Later on sanding, wipe off the dust using a clean side of your sandpaper. Please don't use an oil-based degreaser to article of clothing downwardly the paint and lessen its quality.
Footstep 5:
Apply primer. Apply an aerosol primer to any rust or bare metallic in your engine bay. You lot'll almost likely demand two coats. Wait for the primer to dry, and then apply a second glaze to ensure total coverage and adhesion.
Stride 6:
Ostend that everything is well covered. Later the primer has dried, place a slice of scotch tape over whatever role you want to paint. Peel it away to reveal the base color. If it looks good, you can proceed with painting your engine bay.
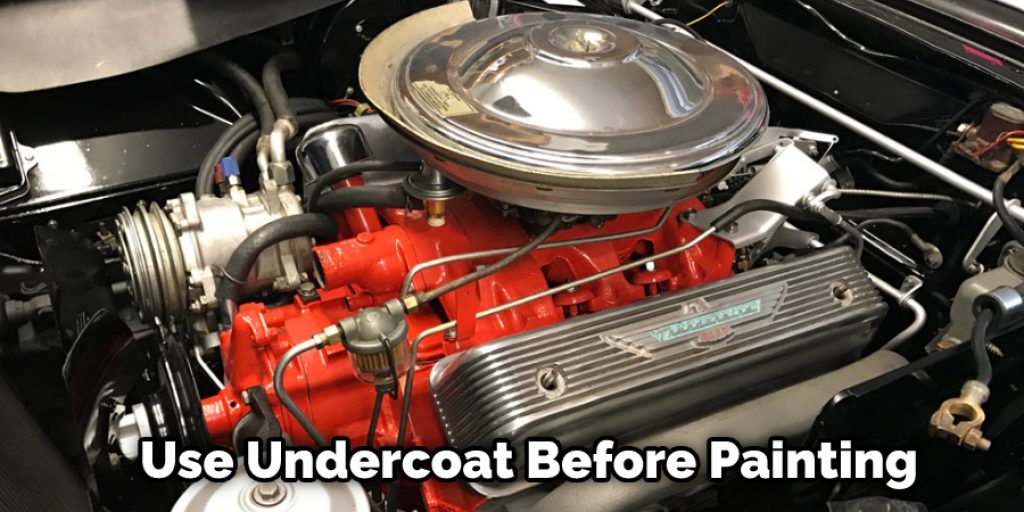
Method three: Painting Engine Compartment
Step ane:
Use primer/undercoat to the engine bay. First, remove the tape from the engine bay. So, apply a primer glaze with a spray can to all metallic surfaces you lot desire to paint. Allow this to dry for a few minutes before moving on.
Step 2:
Tape off non-metallic pieces of your engine bay. Suppose you aren't going to paint your motorcar's hood, employ painter's tape to embrace it. The same goes for whatsoever engine bay parts yous don't want paint on, such as your windshield washer fluid tank.
Step 3:
Paint the metal surfaces in your engine bay. Start with a bright light-green or a similar color that contrasts nicely with black primer. Spray 1 lite coat over the painted metal surfaces. Let it dry for a few minutes earlier applying another coat. This ensures paint won't baste onto other areas of your engine bay.
Step iv:
Painting engine bay with the brush. Later on the primer has stale, use a castor to paint metal surfaces. Start past dipping the bristles in black paint and applying several strokes in one direction. This will forbid lines from appearing on your newly painted engine bay.
Step 5:
Remove the painter'south record, foil, and plastic sheets. One time the pigment is dry, remove all of your painter's tape. You can then advisedly take abroad all foil and plastic sheets covering not-painted engine bay parts.
Step 6:
Let the pigment dry. Earlier bringing your automobile outside again, let the color set for a day or two. This will prevent any chips from occurring as soon as you drive them dorsum home.
Step vii:
Reinstall all the parts you removed. One time the paint is completely dry, replace all parts yous removed while painting. Make sure to utilize a torque wrench to tighten bolts deeply. That mode, you can forbid whatever details from loosening.
Some Tips and Suggestions
one. Your engine doesn't demand to be in a car. You can take information technology out and do whatever y'all want with it, but delight don't hurt yourself or anybody else.
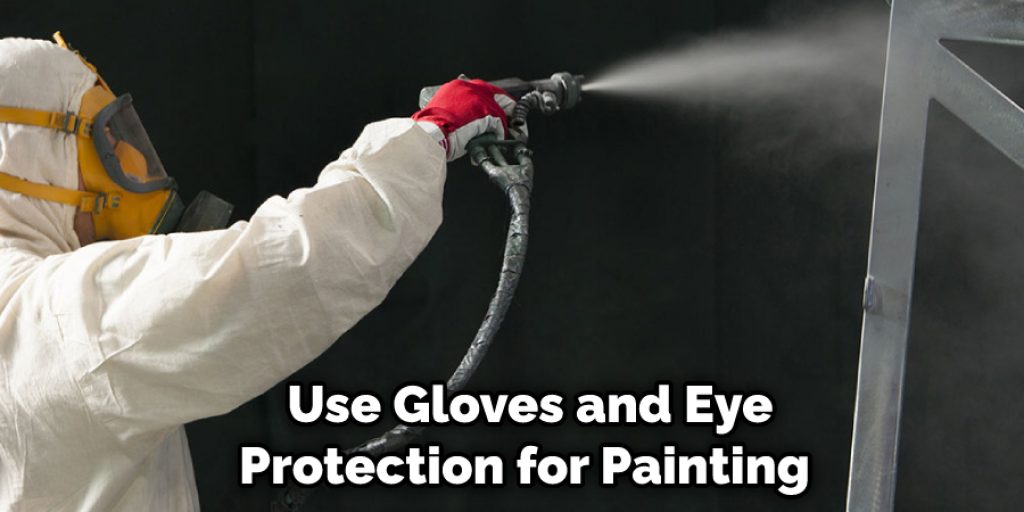
two. Y'all don't demand whatsoever special tools for this Intractable, merely some preventive measures such equally gloves and eye protection.
three. It is helpful to have a few actress easily at certain stages of the procedure, primarily for holding things. This will ultimately allow yous to focus on achieving a clean finish rather than doing some acrobatics.
four. Utilise the pigment as all-time and as thoroughly equally possible. You won't fifty-fifty have coverage and a solid color, not blotches and streaks.
5. Practice scrap woods first if yous're worried well-nigh messing information technology upward or want to examination your skills first.
6. Even if an engine looks clean, at that place volition probably still exist some corporeality of oil and dirt left on it. Applying a good coat of paint will encompass upward some degree of crud.
seven. The fumes from the paint aren't mortiferous but y'all probably don't want to breath them in or get them in your optics either, then do this exterior with some fresh air rolling past (but non too stiff).
How to Paint an Engine Cake?
An engine cake is the central part of an engine. Information technology ordinarily consists of cylinders, coolant passages, and other components that movement parts such as pistons and crankshafts. The process of painting an engine block is fundamentally the same as any metal surface (some differences). If you want to learn how to paint an engine without removing information technology, follow the instructions mentioned in this blog.
Starting time, you should gear up all the materials and tools needed for painting an engine, such as masking record, sandpaper, degreaser solution, and primer pigment. Next, remove any mud or grease from the engine block with a degreaser solution using a potent castor. If there is stubborn grease or crud that you cannot remove with a brush, you lot can use sandpaper as an alternative. Never use steel wool equally it will scratch the surface of the metal and cause more problems.
What Are the Benefits of Painting an Engine Without Removing It?
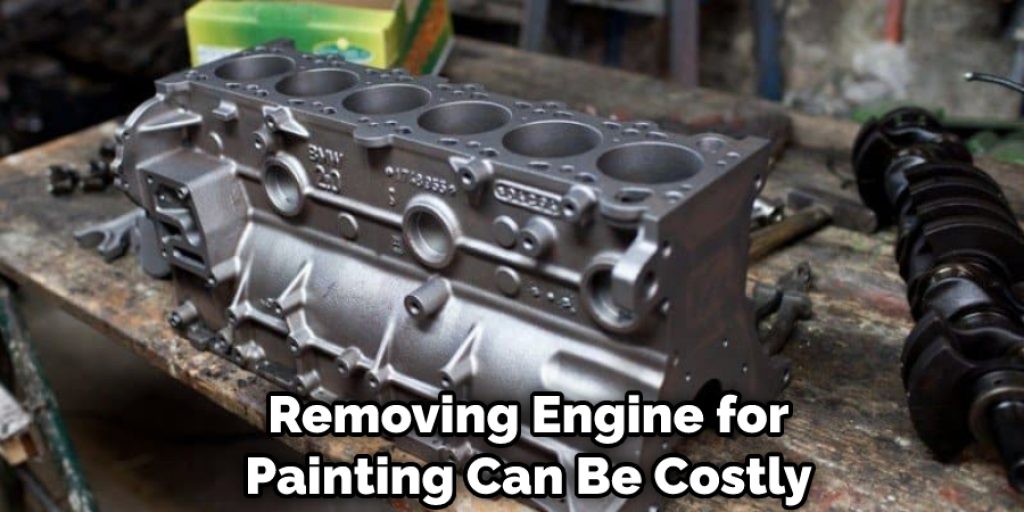
In that location are many benefits to painting an engine without removing it. The master reason to paint an engine without removing information technology is cost savings. If y'all're paying someone else to do the painting, what they charge per hour and how long it volition take to remove and supersede parts tin can vary significantly across dissimilar shops.
Y'all salvage money by having your mechanic exit the parts in place and spraying them where they sit. Also, if yous want to have a professional paint your engine, ofttimes, they will have to disassemble the machine anyway. If this is the case, they volition need to paint each slice equally they accept it apart, which tin exist incredibly fourth dimension-consuming.
Conclusion
If you need to paint an engine but don't want to remove it, there are many options. The first is using the rotary spray gun method, which can exist done past attaching your air compressor hose and nozzle straight to the engine'southward valve cover. With this technique, you have minimal overspray on other vehicle parts because all painting is done below waist level.
This procedure does crave some practice, and so make certain that yous test out how well your setup works earlier starting with a total coat of paint-yous may fifty-fifty desire to practice touchups after each layer if necessary. If you're looking for more information on how to pigment an engine without removing it, this blog post is an first-class identify to showtime.
Nosotros hope that the tips we've provided volition be helpful and informative for your next projection. If non, feel free to achieve out our team of experts are always happy to help!
Source: https://diyquickly.com/how-to-paint-an-engine-without-removing-it/
0 Response to "How To Paint Engine Bay Without Removing Engine"
Post a Comment